What is a Concept Map?
Concept maps are exactly as the name suggests – a map of concepts! Also known as mind maps, they’re a fantastic way to make connections between different ideas or readings, to think about a topic holistically, and to build arguments.
While many people (including me) use concept mapping as an individual technique for developing arguments for articles or revising for exams, they’re also a fantastic classroom group activity.
In this guide, I explain how to use concept maps in the classroom. Check out the video below, or – if video isn’t your thing – read on!
Subscribe to Discovery Hub’s new YouTube Channel here.
How to Run a Concept Mapping Activity in the Classroom
First, divide students into small groups (around 3-6 per group). Ideally, they should be sitting at small group tables.
Next, explain what a concept map is and its purpose. Make sure to emphasize that there is no “correct” end product, and that it’s the process of working together to build the concept map that matters most, not what it looks like when its finished.
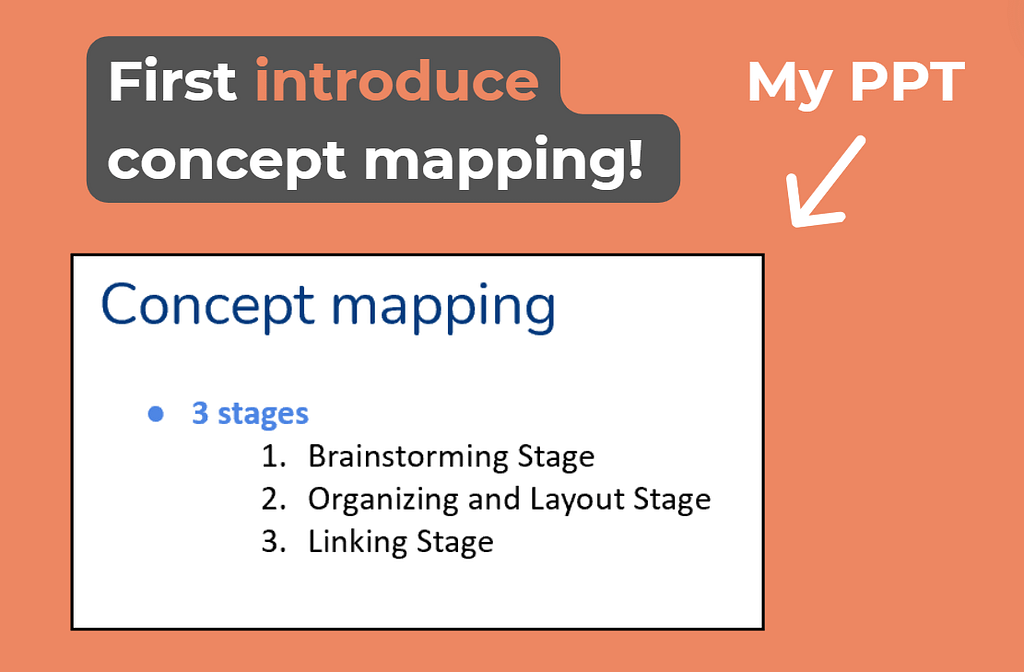
Then, take students through the three stages of concept mapping (I like to complete each stage before introducing the next one as I find it makes for better structure and ensures groups work at a similar pace rather than one or two groups racing ahead and others falling behind).
Stage 1: Brainstorming
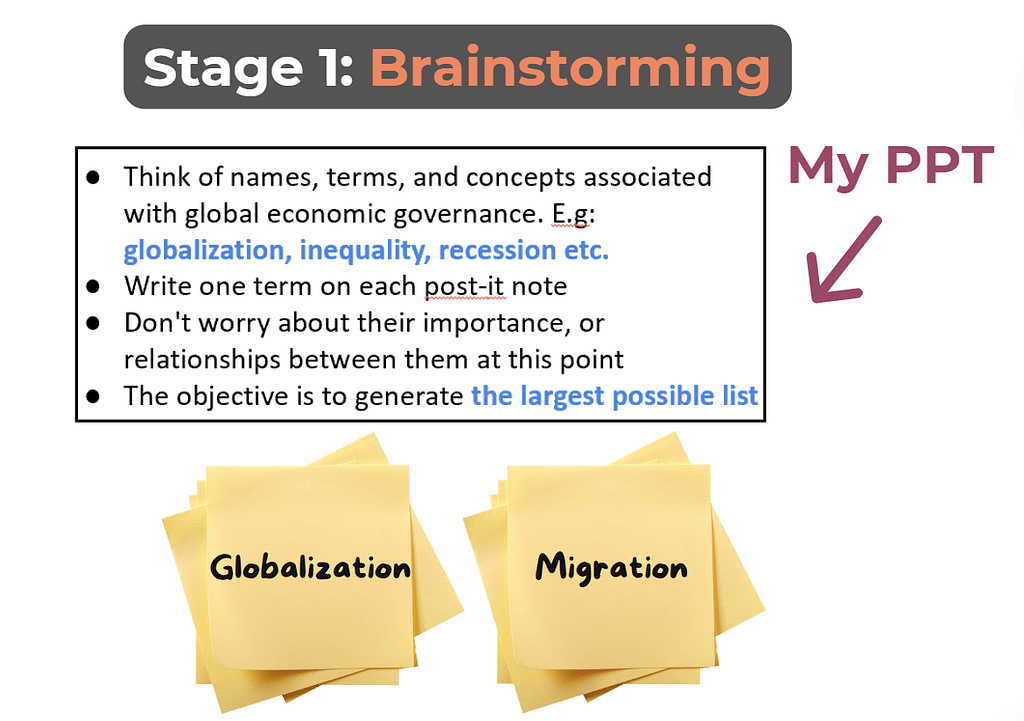
Give each group a stack of sticky notes and ask them to write down as many names, terms, authors, readings, etc. associated with whatever the topic of the concept map is (one per sticky note). At this point, the goal is just to generate as many items as possible.
Here’s an example of my slides introducing this stage for a concept map on the topic of ‘global economic governance’:
Stage 2: Organizing and Layout
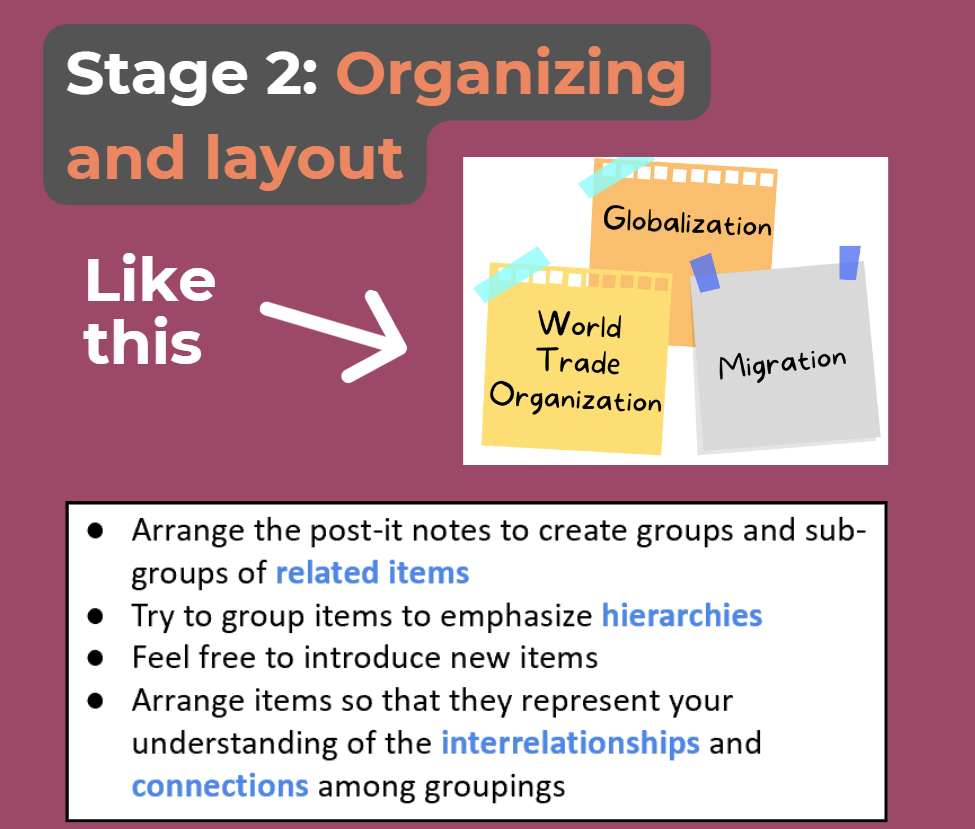
In this stage, students work together to organize the sticky notes in groupings that make sense to them (there’s no right way to do this – the organization just needs to make logical sense). I tell students a good way to think about this is to put “big concepts” above “small concepts” (i.e. organize items into hierarchies).
Make sure to do this on a surface that students can write on during the next stage. I prefer giving each group a whiteboard (or space on the white board), but if you don’t have enough whiteboard space, you could give each group a very large sheet of paper or a even a piece of cardboard.
Here’s an example:
Stage 3: Linking
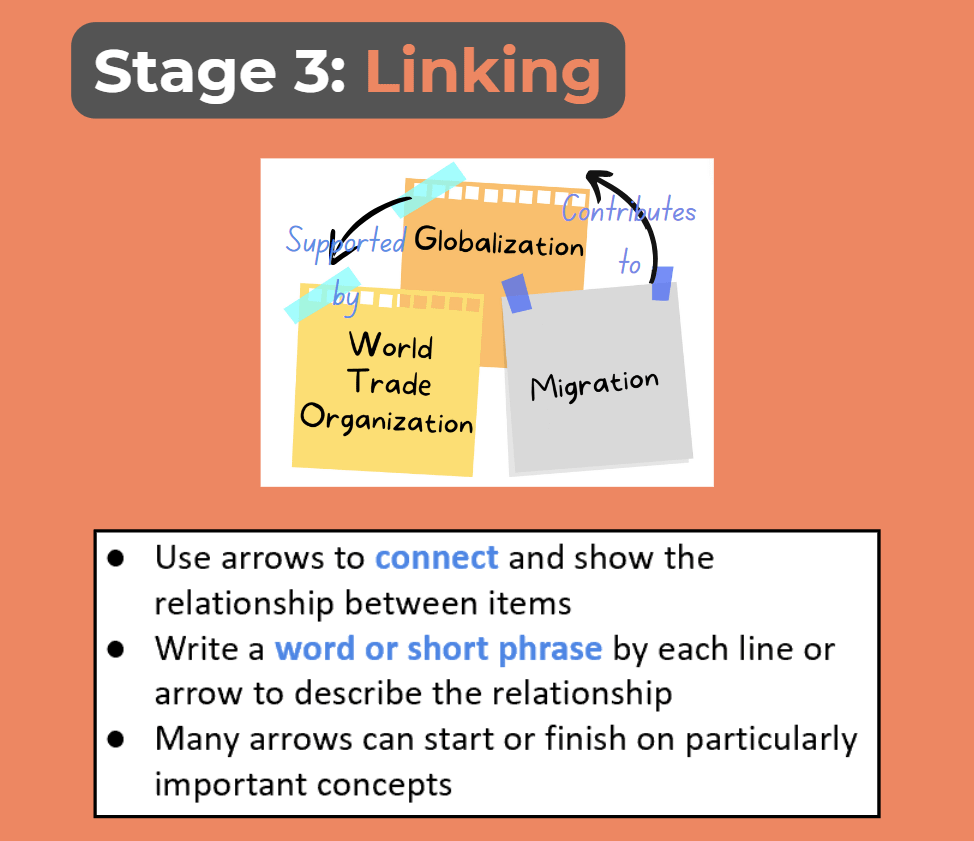
Next, ask the groups to work together use marker pens to draw arrows between different items or groups of items that have a connection to each other (again, there’s no right way to do this – the arrows just need to make some kind of sense – and some important items might have lots of arrows associated with them).
Also, instruct students to write a brief word or phrase describing the connection between the items, like this:
Finally…
One stage 3 is finished, the concept maps are complete!
If time allows, I ask each group to choose one or two interesting points or connections from their concept map and explain them to me and their classmates. I also take pictures of the concept maps and share them with students after class, so that they can use them as a revision or learning tool later.
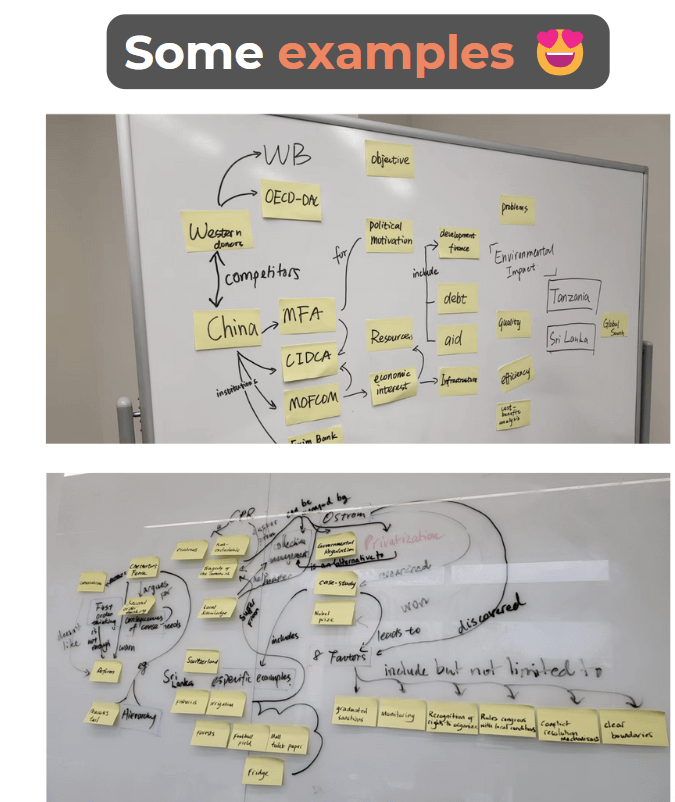
Here are some examples of concept maps made by my students:
Would this article be helpful for someone you know? Click the links below to share ⬇
Check out more tips for academic success by following Discovery Hub on social media ⬇
Add Discovery Hub’s Official Account and Pippa on WeChat ⬇

Copyright @ 2024 Discovery Hub Educational Consulting (Suzhou) Ltd 探索枢纽教育咨询(苏州)有